If you’re an Instagram enthusiast or a social media content creator, you know that the visual appearance of your posts can make or break your engagement. Instagram, with its significant design, has specific image size guidelines for users, but what happens when you want to post multiple photos with different sizes? Can it be done without messing up the layout of your feed?
The good news is yes! You can post multiple photos on Instagram, even if they have different sizes, without compromising their look. Whether you’re working with square, portrait, or landscape images, there are ways to ensure that they fit seamlessly within the platform’s constraints and still look great.
I will explain how to post multiple photos on Instagram with different sizes and still maintain your professional look for your feed.
Table Of Contents
Instagram’s layout limit definitions
Before diving into the process, it’s important to understand Instagram’s photo size guidelines. When posting multiple images (also known as a carousel post), each image will automatically adjust to fit Instagram’s frame, which tends to crop the photos in certain ways. This is why paying attention to the orientation and aspect ratio of your photos matters.

- Square images (1:1 ratio) are the easiest to work with on Instagram. These images are perfectly sized for the platform and will display neatly without much cropping.
- Portrait images (4:5 ratio) are ideal for mobile viewing and offer a larger visual impact, but Instagram will crop some of the top and bottom of your photo when displayed in the feed.
- Landscape images (1.91:1 ratio) are typically wide photos, and Instagram will crop them to fit within the frame, making them less ideal if you want to showcase the full image.
Understanding how Instagram handles these sizes will help you manage how your images are presented in a multi-photo post.
Adjust Image Sizes and Crop Them if Necessary
Before uploading, you might need to adjust your photos to ensure they look as good as possible in the carousel. You can do this directly on Instagram, but it’s often better to edit your photos first using an external app or editing software.
If you have a portrait photo but want it to fit a square frame without losing too much detail, you can add padding to the edges. Online apps or Instagram’s own cropping tools can help you add a border, ensuring the photo fits neatly into a square without cropping important parts.
For landscape images, you can either crop the image or add padding in the same way to make it square.
Choose the Photos You Want to Post
The next step is to pick the photos you want to post. Since Instagram will format each image according to the app’s default settings, you’ll want to select pictures that work well together.
If you’re posting a mix of different-sized images, a square photo along with portrait and landscape images—be mindful of how they complement each other. Try to make sure that each image shares a similar visual theme each image shares a visual theme, such as color palette, subject matter, or mood, to ensure the post feels cohesive despite differing sizes.
Use Instagram’s Multiple Image Feature
Once your images are edited and sized properly, it’s time to upload them to Instagram. Here’s the step-by-step process:

- Open Instagram and tap the + icon to create a new post.
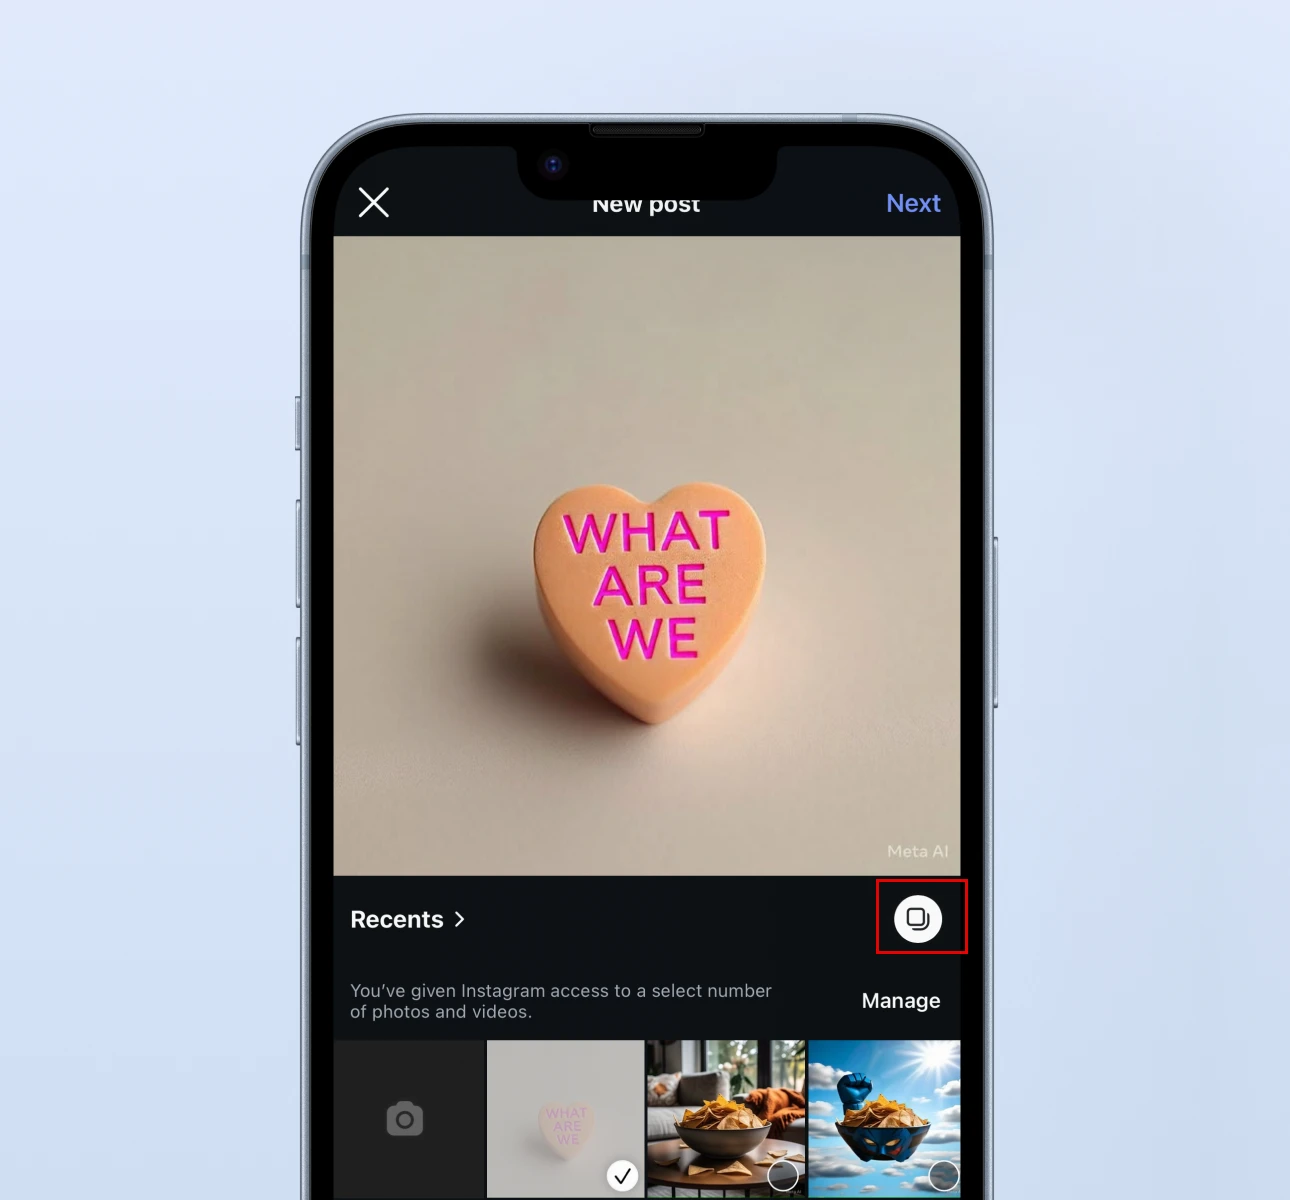
- Select multiple photos: Choose the “Select Multiple” option (this will allow you to upload several images at once). You can choose up to 20 photos or videos for a carousel post.
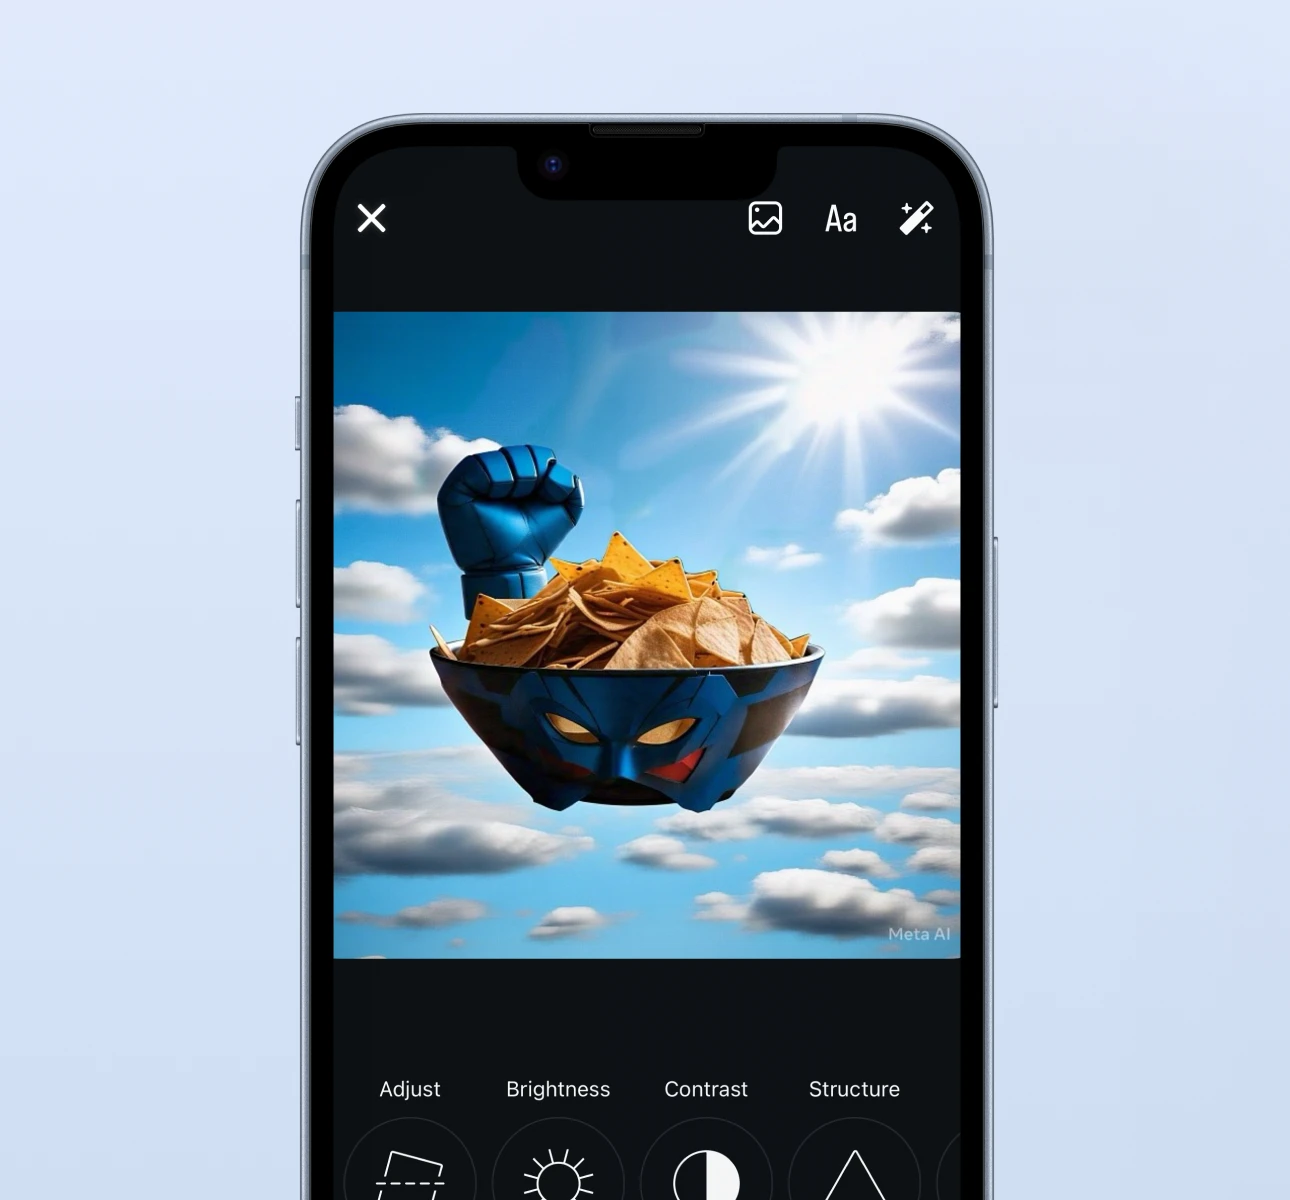
- Edit each photo individually: Instagram allows you to edit each photo separately. You can adjust filters for each image, making them look perfect for the feed.
- Arrange your photos: Instagram lets you reorder the photos before posting, so if you want to change the order in which the images appear, you can simply drag and drop them.

Pay Attention to the Layout
Once you’ve uploaded your images, you’ll want to make sure the layout looks great. It’s important to think about how the images will appear in the carousel. The key is to keep things balanced which might happen by considering to following notes:
- Start with a stronger photo: If one of the images is particularly striking (maybe it’s your best portrait shot or a beautiful landscape), use it as the first photo in the carousel. This will draw your followers in and encourage them to swipe through the rest of your post.
- Follow a flow: Try to keep a similar visual flow throughout the carousel. If you start with a portrait image, follow it up with another portrait photo, then introduce the landscape or square photo next, so the changes in size feel more natural.
- Avoid extremes: If one of your photos is significantly different in size from the others (e.g., an ultra-wide landscape shot next to a tightly-cropped portrait), it can feel jarring. Try to keep the variations in size relatively subtle to maintain a smoother visual experience.
Conclusion
Posting multiple photos of different sizes on Instagram doesn’t have to be a headache. With a little preparation, careful editing, and attention to detail, you can create a carousel post that looks seamless and professional. By following these simple steps, you can ensure that your photos, whether they’re square, portrait, or landscape, all come together in a way that showcases your creativity and maximizes your engagement.


